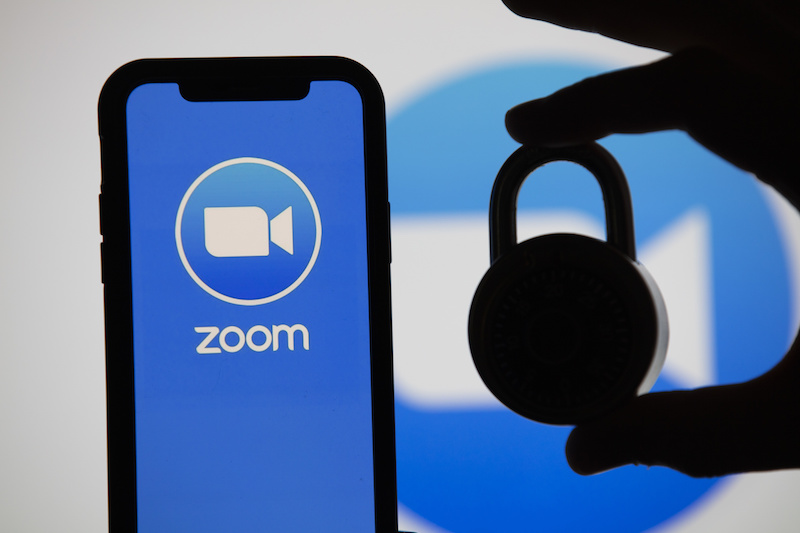
Knowing how to set video and audio for smooth Zoom meetings is what everyone should know about.
This is because, following the continuous spread of Covid-19, more activities, including work and learning are taking place on Zoom.
Also, an enormous number of people are staying away from each other so as to avoid contracting the virus.
The more people stay apart, the more they tend towards virtual modes of communication and Zoom is a useful platform.
For those working from home, Zoom is now practically synonymous with working from a usual physical office.
Although there are many other video conferencing apps where people host conferences, seminars and lectures, we will focus on Zoom.
Also, Zoom is increasingly gaining popularity as one of the most used video conferencing app across the globe.
No doubt, you have been on many Zoom meetings and many people too have equally participated in either one or many Zoom conferences.
However, many people have witnessed some glitches while using Zoom. Others have had poor video and audio qualities.
Meanwhile, people are still hosting Zoom meetings without even understanding the settings for a smooth conference.
Although a few people are actually taking time to understand the video and audio settings for Zoom, many still don’t.
Therefore, we are going to teach you to know the video and audio settings for a smooth Zoom video conferencing.
Knowing the various settings will make you a pro in hosting your Zoom meetings.
Audio and Video settings you must know for smooth Zoom Meetings:
Improving poor video and picture quality:
Adjust Low Light Setting.
First and foremost, to have a good quality visual, check if the room is dark or dimly lit.
If the room you plan on having your Zoom video meeting or conference is dark, then adjust low light settings.
The low light settings brightens you video if you are in dark environment.
Also, with Zoom’s low light settings, you won’t experience poor lighting conditions during remote video conferences.
To adjust low light setting, follow these steps:
- In the Zoom desktop client, click your profile picture then click Settings .icon.
- Then, click the Video tab.
- After that, enable the Adjust for low light.
- Note that by default, the setting will be set to Auto.
- However, you can select Manual, and adjust the setting to the desired effect.
Enable HD Video:
Zoom has settings where you can enable a high-resolution video conferencing experience.
To enable the HD video settings, follow these steps:
- In the Zoom desktop client, click your profile picture, then click Settings .
- Click the Video tab.
- Then click HD.
Adjusting the Touch Up My Appearance:
You can improve the appearance of your picture while on Zoom and you can do this with this feature.
To adjust Touch Up My Appearance Feature, do these:
- In the Zoom desktop client, click your profile picture then click Settings.
- Click the Video tab.
- Click Touch up my appearance.
- Use the slider to adjust the effect.
- Don’t worry about setting it next time you use Zoom as the app remembers your settings on that computer.
Another setting you should know about is the Video filters.
You can add or filter colours, custom video frames and other overlays to make your appearance seamless.
To apply video filters, follow these steps.
- Sign in to the Zoom desktop client.
- Click your profile picture and then click Settings .
- Click the Background & Filters tab.
- Click the Video Filters tab.
- Then, select the desired filter.
Adding virtual backgrounds:
You may decide to have a desired background while on Zoom.
Virtual Background feature allows you to display an image or video as your background during a Zoom Meeting.
Having a beautiful virtual background makes your meeting or conference really cool and even, relatable.
To add any virtual background of your choice, follow these steps:
- Click on More in the controls.
- Then, tap Virtual Background (Android) or Background and Filters (iOS).
- After that, click on the background you would like to apply or tap + to upload a new image.
- The background will be automatically applied. You can add a background of a sea, tower, just anything.
Applying studio effects:
Just like using Emojis to communicate specific mood or feelings, you can apply the studio effects on Zoom.
You can add eyebrows, lips colours, or even Mustache & Beard.
To apply studio effects, follow these steps:
- Sign in to the Zoom desktop client.
- Click your profile picture and then click Settings .
- Click the Background & Filters tab.
- Click Studio Effects in the lower-right corner.
- Choose your desired settings from the Eyebrows, Mustache & Beard, and Lip Color sections.
- Select or deselect the Apply to all future meetings check box.
- Click Close.
Audio Settings:
You will need to also adjust the audio settings to filter out noise like crunchy papers or ceiling fan hum.
Imagine hearing a dog barking or neighbours gossiping while you are on Zoom meeting. It could be saddening.
Thankfully, Zoom has a noise suppression filter which removes distracting noises picked up by your microphones.
The filter also improves audio quality during a Zoom meeting.
Meanwhile, by default, Zoom automatically mutes background noises that are picked up by your microphone.
But you can still change the settings if you deem fit.
However, you will meet certain prerequisites to be able to do this.
To achieve high-quality audio, you will need:
- Zoom desktop client for Windows, 5.2.0 or higher or;
- Zoom desktop client for macOS, 5.2.0 or higher.
To remove or suppress unwanted sounds while on Zoom meetings, follow these steps:
- In the Zoom desktop client, click your profile picture, then click Settings.
- Then, click on the Audio tab.
- Under the Suppress background noise section, select the level of suppression you wish to use:
- Auto: setting to auto means Zoom will apply moderate background noise reduction when needed.
- The auto does not recognise music as noise. So, you should know that.
- Low: this feature reduces noise by blocking low levels of background noise.
- The Medium: reduces and eliminates background noise in standard environments, including fans, pen tapping, etc
- High: Noise reduction will be at its most aggressive, and eliminate noise such as crunching of paper or wrappers, keyboard typing, etc.
Don’t forget the Focus Mode which is a new feature that Zoom has added recently.
Zoom added the Focus Mode feature specifically for educators.
If you are a teacher, then the Focus Mode feature will help your students avoid distractions during zoom meetings.
The Focus Mode allows educators to see their students’ videos, and students to see their teachers without seeing other class participants.
Zoom has extended the feature to include screen sharing.
As a teacher, you can view a student’s shared screen and no one else can.
However, the teacher can then choose to share a student’s screen with the rest of the participants if they wish.
ALSO READ: How to Record a Zoom Meeting on Mobile and Desktop [2020]
Requirements for using the Focus Mode feature:
Note, to use the Focus mode, you will need to start the meeting as the host.
So, if you are not the host, you can’t use the focus Mode.
You must also be running Zoom v5.7.3 or higher on Windows or Mac.
To enable the Focus Mode:
- Sign in to the Zoom web portal as an admin with the privilege to edit account settings.
- In the navigation panel, click Account Management then Account Settings.
- Click the Meeting tab.
- Under In Meeting (Advanced), click the Focus Mode toggle to enable or disable it.
- If a verification dialog displays, click Enable or Disable to verify the change.
Note: If the option is grayed out, it has been locked at the account level and needs to be changed at that level.
- (Optional) If you want to make this setting mandatory for all users in your account, click the lock icon , and then click Lock to confirm the setting.
You can however, enable or disable the Focus Mode for groups or your own personal use.
Focus Mode for Group:
To enable or disable Focus mode for a group of users:
- Sign in to the Zoom web portal as an admin with the privilege to edit groups.
- In the navigation menu, click User Management then Group Management.
- Click the applicable group name from the list.
- Click the Meeting tab.
- Under In Meeting (Advanced), click the Focus Mode toggle to enable or disable it.
- If a verification dialog displays, click Enable or Disable to verify the change.
- Note: If the option is grayed out, it has been locked at the account level and needs to be changed at that level.
- (Optional) If you want to make this setting mandatory for all users in the group, click the lock icon , and then click Lock to confirm the setting.
To enable or disable Focus mode for your own use:
- Sign in to the Zoom web portal.
- In the navigation panel, click Settings.
- Click the Meeting tab.
- Under In Meeting (Advanced), click the Focus Mode toggle to enable or disable it.
- If a verification dialog displays, click Enable or Disable to verify the change.
- Note: If the option is grayed out, it has been locked at the account level and needs to be changed at that level.
Using Focus mode in a meeting
To engage Focus mode as the host or co-host of a meeting:
- Start a meeting as the host or co-host.
- Click More on the meeting toolbar.
- Click Start Focus Mode.
- Click Start to confirm, or select the Don’t ask me again check box to skip this confirmation going forward.
- When Focus mode begins, you and the participants are notified with a banner along the top of the video window.
- Also, the focus mode icon is always visible in the top-left corner of the video window, next to the encryption icon, while focus mode is active.
Remember that Participants’ shared screens are only visible to the host and co-hosts while on Focus Mode.
However, if you are the host, you can allow all other participants to view as well. Follow these steps:
- Click the up arrow to the right of Share Screen.
- In the Shared screens can be seen by section, click All participants.
- (Optional) To return to just host and co-hosts viewing shared content, select Host only.
- Note: These options are only available when in Focus mode.
To end Focus mode:
To end the focus mode, follow these steps:
- Click More on the meeting toolbar.
- Then click Stop Focus Mode to end it.


 and then